
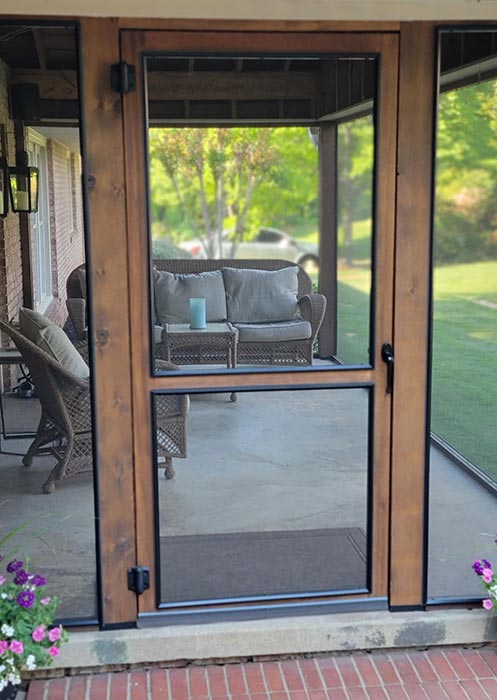
Our screen door kits solve many problems for someone wanting to replace or add a screened door to their home. Up until now, the market hasn’t offered a DIY screen door for homeowners wanting to replace doors to their home without any extensive carpentry or door installation skills. Door 2 You is proud to offer a permanent solution.

When people think of “DIY”, concerns of the products structural integrity might come to mind. This is not the case with our screen door kits. No matter who is building the door, our product is made to last. The patented joinery used to stabilize the door is a feature that allows the builder to create an unwavering finished product. Our doors are made to last for the long haul. We use locally sourced Poplar for our raw and painted doors.

How to Assemble Your Door

1

Preparation

Lay the door pieces on a flat surface. Slide the plastic screen covers off of the styles and rails and lay them to the side.

Lay pieces out in the order to be assembled based on the stickers on each piece.

2

Apply the Glue

Apply liberal amounts of the glue provided to the wood tenons (not the mechanical ones, as these are pre-glued at the factory).

3

Assemble the Frame

Use the allen wrench provided to tighten all four joints. Be sure all connections are flush before tightening. Listen for the click sound to ensure the joint is tight.

Wipe excess glue with a damp cloth.

Insert supplied button caps to cover mechanical tenon screws.

4

Add the Screen

Flip the door over and lay the screen across the aluminum frame. (Be sure all plastic caps are installed in warm temps to avoid any cracking.)  Line the screen up along the side of the door for a square fit.

Use the rubber mallet provided to tap the caps into place. Snap the cover over the screen and spline starting with the top. Do the bottom of the panel next followed by the sides. Do not stretch the screen; the cap will pull it tight as it is secured into place.

Carefully trim excess screen by running a razor knife around the outside of the frame.